Sushezi Sushi Maker
Can this White Plastic looking
Tube actually replace my Traditional Sushi Mat?
Product: Sushezi
Type of Kit: Non-Traditional
Price Range: Around $16.00 dollars
I had to find out if a sushi maker that looks like something I would use to replace the plumbing in my house could actually make good sushi rolls.
We are about to put it to the test and find out.
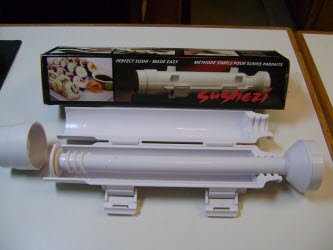
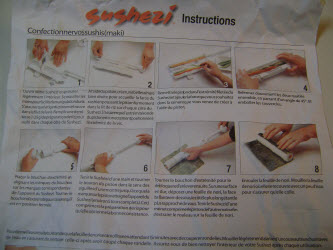
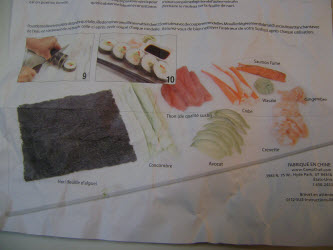
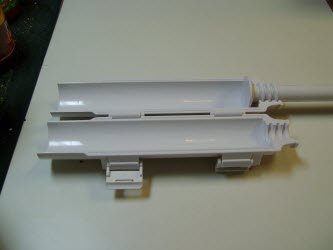
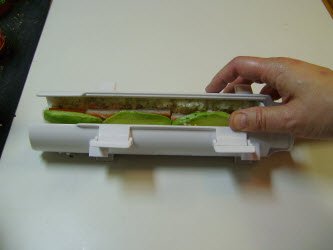
In the picture above, I have opened it up so you can see the inside. It at least has few parts that seem to logically fit together. The instructions are all on one sheet. The top part (left picture above) are the instructions for use and the bottom part go into ingredients.
The instructions start off by telling you to oil it (left picture above) so I sprayed it with canola oil to get a thin film on it and then wiped off the excess.
I didn't especially like having to do that. I don't really like the thought (or possible taste) of having oil on the outside of my sushi roll.
But
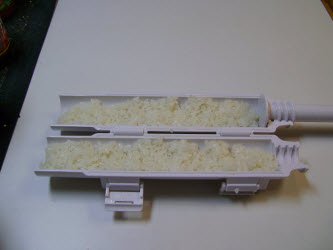
anyway, next you are suppose to measure out 1/2 cup of rice for each
side. Which I did (middle picture above). I need to mention here that
the first time I did this the roll pretty much fell apart because there
wasn't enough rice in each side of the tube so the rice was loose.
The second time I did this, I filled each side with rice (in other words, I put more than 1/2 cup in each side) and the roll turned out better (see below).
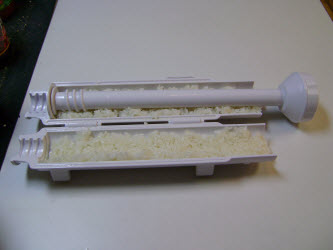
In the picture on the right, the plunger is laid on the rice and pressed in on each side to create a groove for the ingredients.
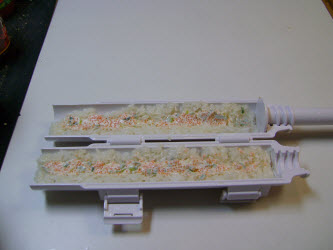
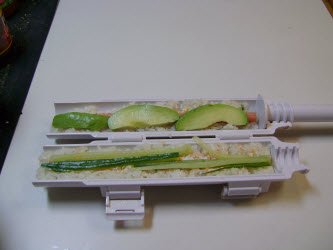
The condiments are added (left picture), and then the ingredients (middle picture). Finally, it is closed and fastened.
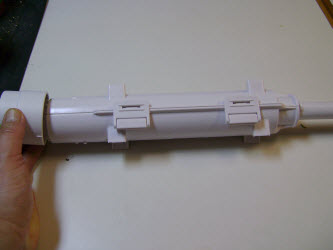
The cap is twisted onto the end (left picture above).
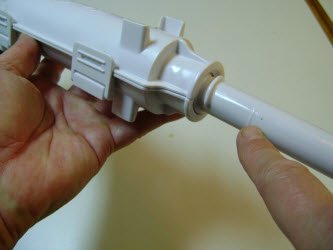
In the middle picture where I am pointing is the line on the plunger that marks where you are suppose to stop when you screw the plunger in to compress the roll.
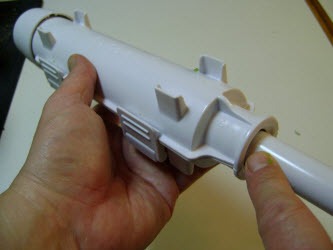
In the right picture above, I have screwed the plunger down to the mark, so now the roll is compressed.
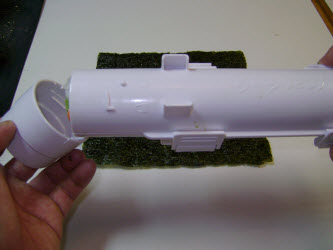
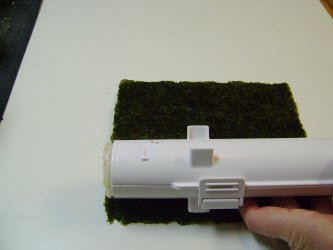
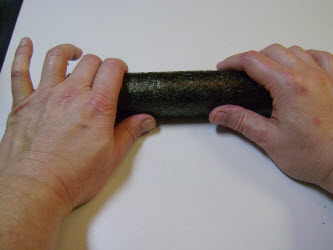
Now the nori sheet is layed out with the the narrow side closest to you.
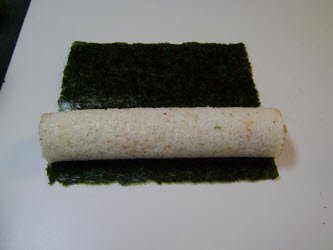
The end cap is taken off and the sushi roll is pushed out of the end of the tube.
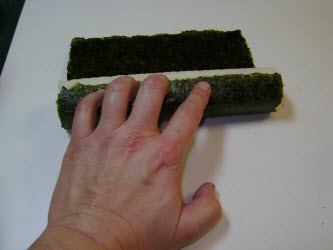
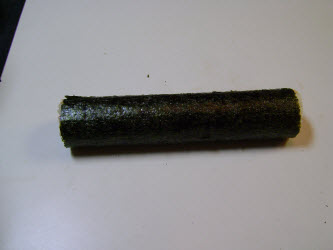
The sushi rice roll is now rolled up in the nori.
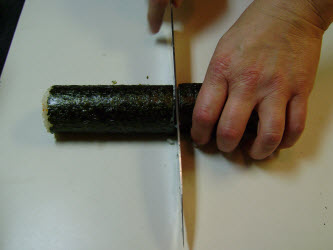
Slice the roll into 6 or 8 equal pieces and serve.
Something that I noticed here was that it was more difficult than usual to cut through the nori on this sushezi roll than a traditional maki roll.
And the rice was noticeably not "adhered" to the nori. This fact combined with the need to press down on the roll more because it is harder to cut through the nori makes it easy for you to push the rice out of the end of the roll because the nori and the rice are not stuck together.
The reason for this I think is because the rice is not in contact with the nori for a very long time before you can try to slice it using the sushezi.
With a traditional roll, you spread the sushi rice all over the nori, then add of the ingredients, then roll it and then slice it. This gives the sushi rice time to "soften" the nori a bit before slicing, making it easier. The nori and sushi rice are also melded together making the cuts cleaner.
You might be able to let the sushezi roll sit for a little while before slicing it and that might take care of the problem.
I haven't tried that yet though.
Sushezi
(Final Thoughts)
|
Pro's |
Con's |
|
|
Will I use the sushezi again? Probably not.
Again, I think I'd rather use a traditional sushi mat. I can make any kind and any size roll that I want with that and it costs less.
I don't think this product made this process really any easier, better or more convenient.
But again, on Amazon its a best seller and has 4 1/2 stars. So check out the Sushezi on Amazon and read the reviews before you decide.
But from my personal experience my recommendation is...
Recommendation: Don't buy it.
Other Sushi Making Kit Reviews:
Don't despair. I have reviewed several other sushi making kits and one comes with a strong buy recommendation.
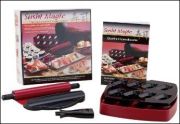
Check them out. Sushi Magic Sushi Making Kit and Sushiquik Sushi Making Kit.
Or listed below are some of the best selling sushi making kits on Amazon.
Like this Page?
|
|
Follow me on Pinterest





New! Comments
Have your say about what you just read! Leave me a comment in the box below.